It’s undeniable that video content has taken the world by storm. From YouTube vloggers to Instagram influencers, videography has become an integral part of our daily lives. One crucial aspect of creating captivating videos is the lighting setup. In other words, the light you choose to illuminate your scenes will drastically influence the final outcome of your videos. For an audience in the UK, let’s explore the best lighting setup for a home studio used for vlogging.
Essential Elements of a Lighting Setup
Before diving into specific product recommendations, it’s fundamental to understand the key lighting elements that make up a good video setup. This involves knowing how to use key lights, fill lights, and background lights to create a well-lit environment that highlights the subject and enhances the overall aesthetic of your videos.
A découvrir également : Which type of mattress is most suitable for UK weather conditions?
Key Light
In any lighting setup, the key light is the primary source of illumination. It’s the most intense and direct light source that highlights the subject’s form and dimensionality. The positioning of the key light will greatly affect the mood and sense of depth in your videos.
Fill Light
The purpose of a fill light is to soften the harsh shadows created by the key light. Typically, this light source is less intense and is placed on the opposite side of the key light. The fill light ensures that the subject doesn’t appear too contrasty, which can be distracting in a video context.
Dans le meme genre : How do you choose an energy-efficient fridge for a small UK kitchen?
Background Light
The background light, also known as a back light or hair light, is used to create depth in a scene by separating the subject from the background. This light source is especially important in a home studio setup, where the space is typically smaller and depth can be challenging to achieve.
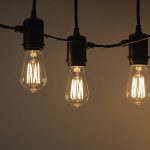
LED Lights: The Ideal Choice for Vlogging
When it comes to choosing the best type of light for a home studio, LED lights stand out as the superior option. They’re energy-efficient, long-lasting, and offer great colour accuracy. More importantly, LED lights are versatile and can be adjusted to match the specific requirements of your videos.
Ring Lights
A ring light is an excellent choice for vlogging, especially if you’re shooting close-ups or talking head videos. These lights provide evenly distributed illumination, reducing shadows and highlighting your facial features. The Neewer 18-inch LED Ring Light Kit is a great option. It offers adjustable colour temperature, a dimming range from 1%-100%, and comes with a stand and phone holder.
Panel Lights
For more flexibility and control over lighting, panel lights are a superior choice. They can be adjusted to different angles, allowing you to create the perfect balance between key and fill light. The Elgato Key Light is a popular choice among vloggers. It offers a powerful output of 2800 lumens, adjustable colour temperature, and can be controlled via an app on your phone or computer.
Creating the Perfect Setup: Combining Lights and Camera
A great lighting setup is not complete without the right camera. The best lighting setup will only be effective if your camera can accurately capture the light. Furthermore, the proper positioning of your lights in relation to your camera can create a more professional look in your videos.
Camera Settings
To get the most out of your lighting setup, it’s important to understand how to adjust your camera settings to best capture light. This includes understanding ISO, aperture, and shutter speed. A lower ISO number will result in less noise but will require more light. A wider aperture (lower f-number) lets in more light but narrows the depth of field. A slower shutter speed will let in more light but can create motion blur.
Light Positioning
The positioning of your lights is extremely crucial. The key light should be placed about 45 degrees to the side of the camera and slightly above eye level, pointing down at the subject. The fill light should be placed on the opposite side, at a lower intensity. The background light should be positioned behind the subject, illuminating the back of the head and shoulders.
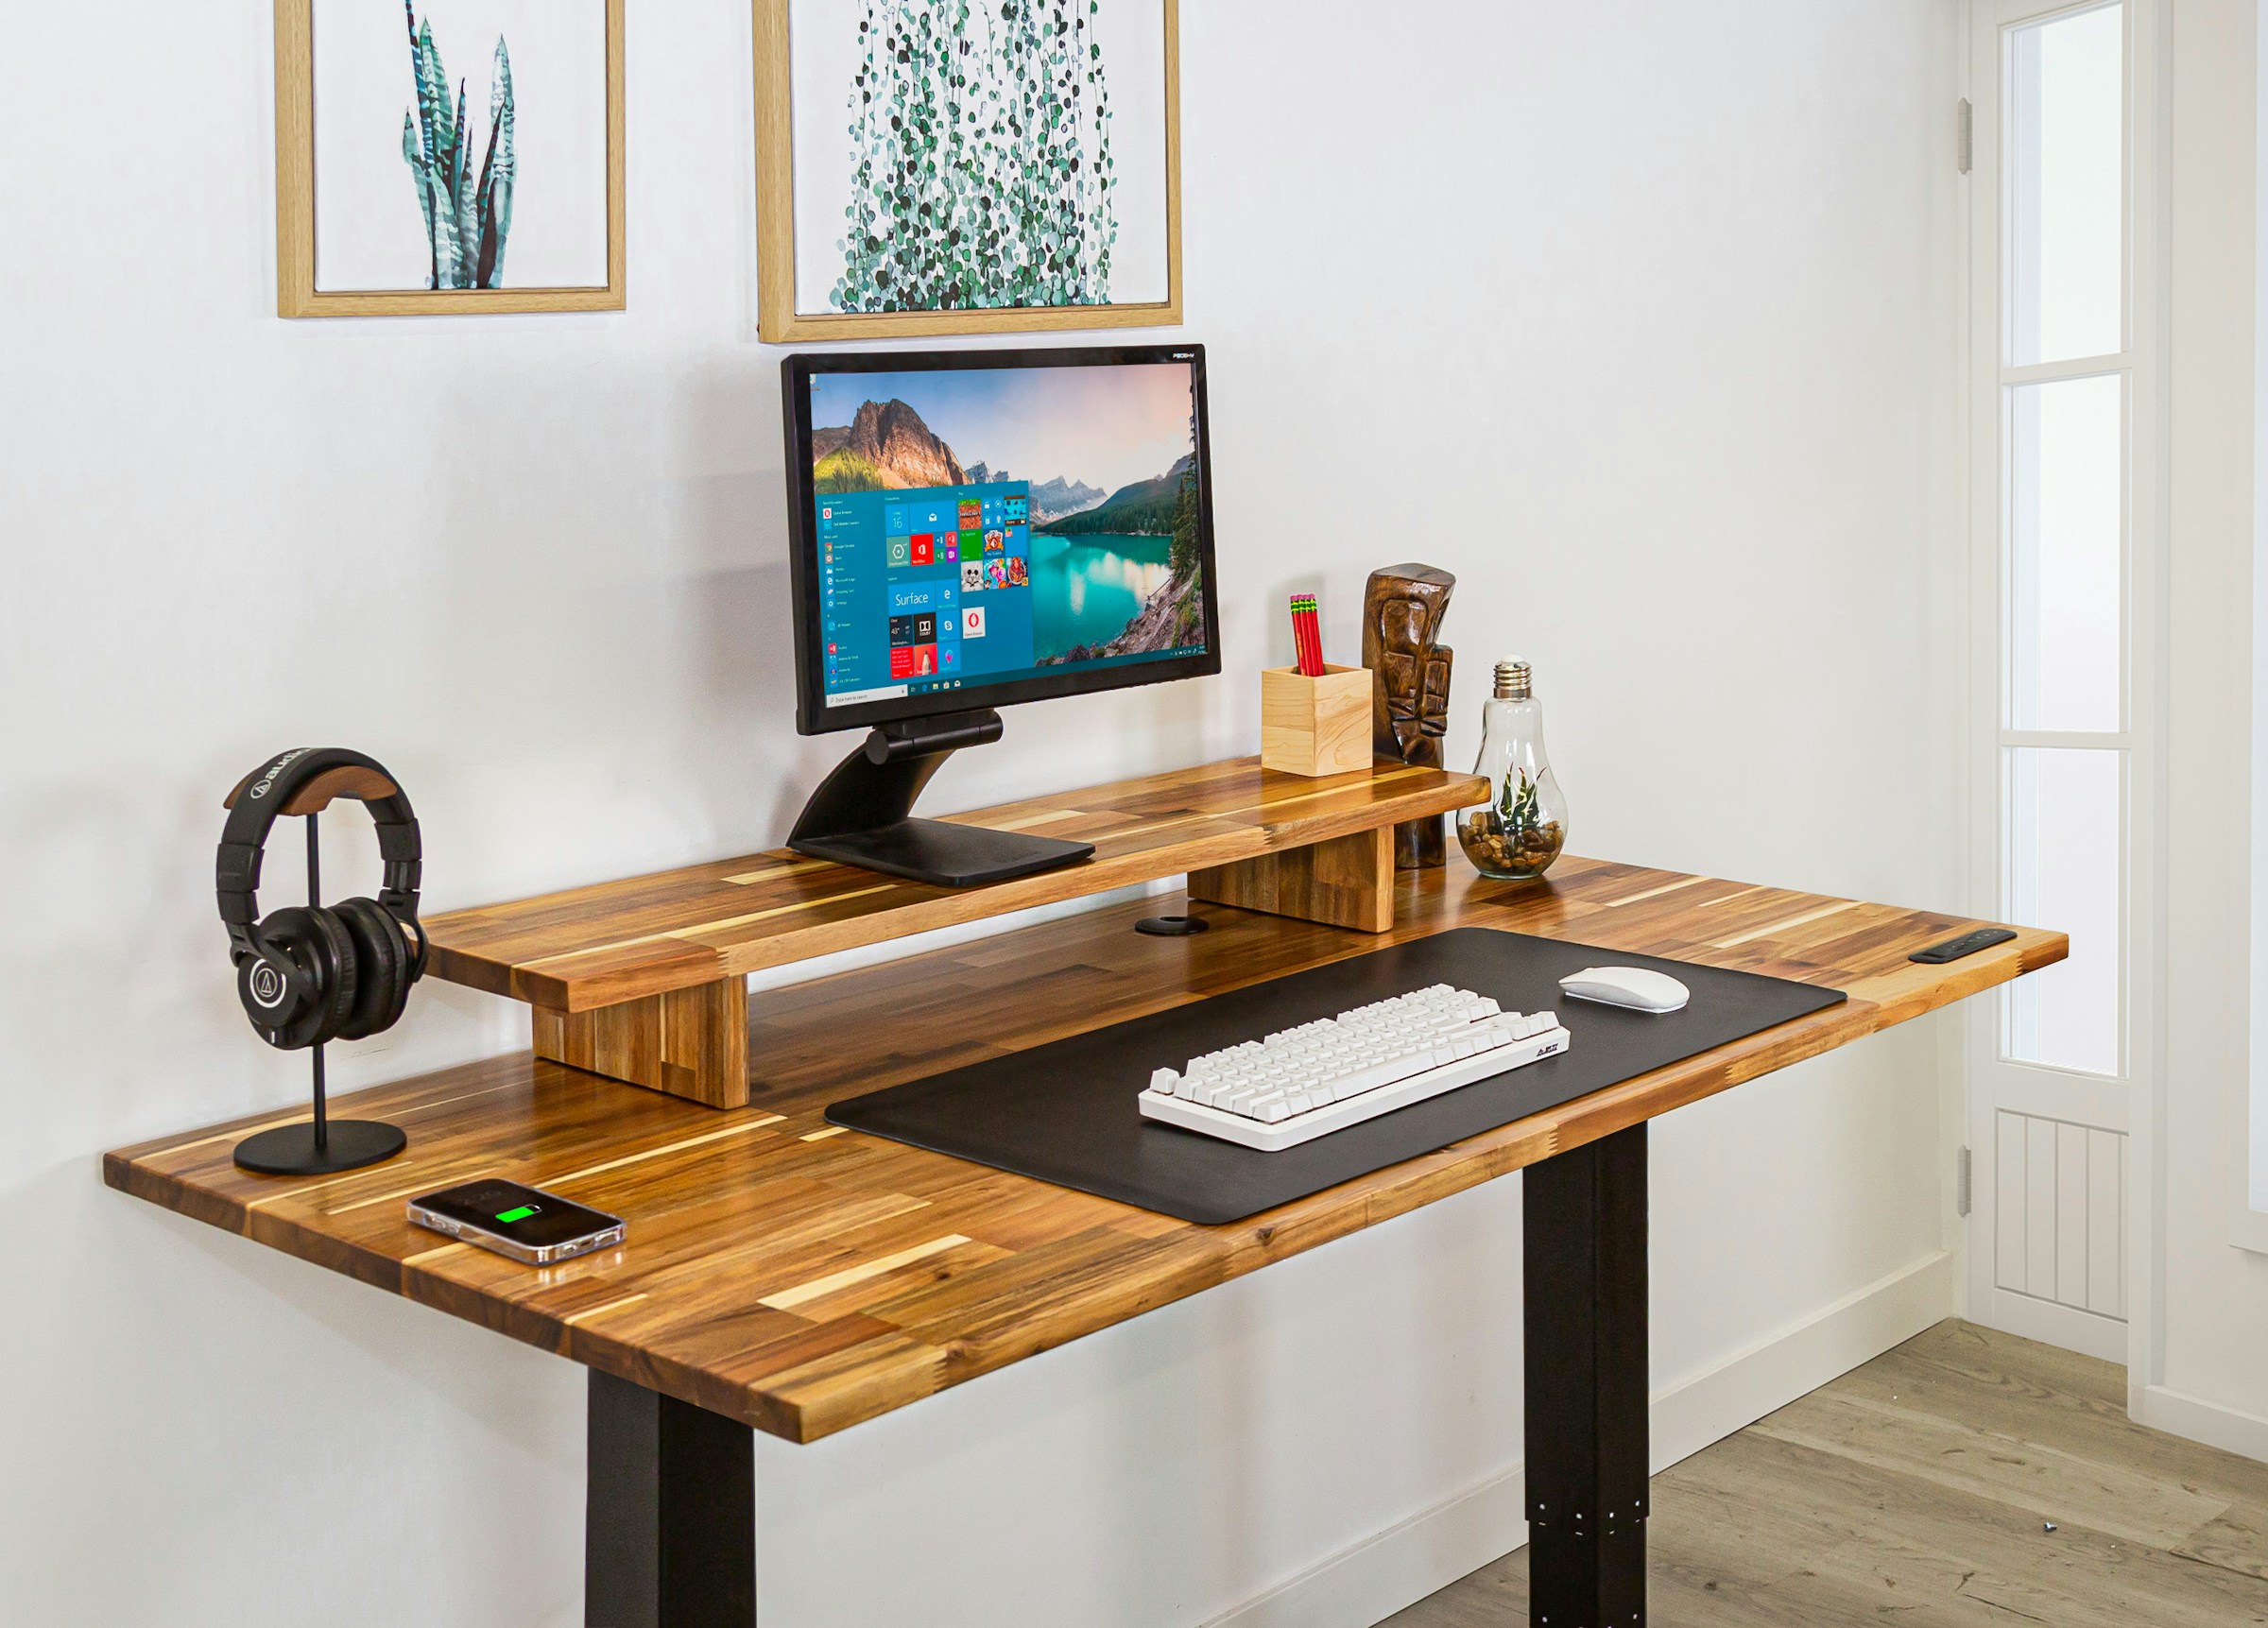
Background and Shooting Environment
Lastly, don’t overlook the importance of your background and shooting environment. The right lighting can only do so much if your background is messy or distracting. Similarly, your shooting environment should be conducive to quality video production.
Choosing the Right Background
Your background should complement your lighting setup and overall video theme. A plain, solid colour background is often a safe choice as it won’t distract from the subject. You can also use background lights to illuminate wall textures or to create colour effects.
Acoustic and Light Control
Your shooting environment should be able to control outside noise and light. Unwanted sound can ruin a good video, so consider soundproofing your studio. Similarly, control of natural light is crucial. Too much sunlight can wash out your LED lights, so use blinds or curtains to manage it.
In conclusion, the best lighting setup for a UK home studio used for vlogging is one that maximizes the use of LED lights like ring lights and panel lights, incorporates a comprehensive understanding of light positioning and camera settings, and considers the background and shooting environment. Now, let’s illuminate your vlogging journey with the perfect lighting setup!
Advanced Lighting Techniques: Maximising Your Setup
Now that we know the basics of lighting setups, let’s look at how to take your vlogging production to the next level with advanced lighting techniques. These methods can help you bring out the best in your content, enhancing the impact of your videos on your audience.
Three-Point Lighting
The three-point lighting method is a classic setup that uses three light sources placed strategically around the subject. This setup consists of a key light, fill light, and background light, each serving a unique purpose. The key light is the main light source, the fill light softens the shadows, and the background light creates a sense of depth and separation between the subject and the backdrop.
High-key and Low-key Lighting
High-key lighting is a technique that uses a lot of soft light to minimise shadows and create a cheerful and positive atmosphere. This is ideal for lifestyle vlogs or tutorial videos. On the other hand, low-key lighting is a technique that uses fewer light sources, creating strong contrasts and dramatic shadows. This technique can be used to create a serious or moody ambiance in your videos.
Choosing the Right Color Temperature
The color temperature of your lights can drastically affect the mood of your videos. Warmer colors create a cozy and intimate feel, while cooler colors provide a fresh and professional look. LED lights usually have adjustable color temperature, allowing you to experiment and find the right mood for your videos.
Final Thoughts: Elevating Your Vlogs with Quality Lighting
In the world of vlogging, the quality of your videos can significantly impact your viewership and engagement. With the right lighting setup, you can enhance the quality of your video production, making your content more appealing to your audience.
Creating engaging content requires more than just a great camera or fantastic storytelling skills. The lighting in your videos plays a critical role in setting the mood, highlighting the subject, and enhancing the overall aesthetic of your content. From the key light to the fill light and the background light, each light source contributes to creating a well-lit environment that captures your audience’s attention.
LED lights, especially ring lights and panel lights, offer versatility and great color accuracy, making them an ideal choice for a home studio setup. With their adjustable brightness and color temperature, they can meet the specific requirements of your videos.
Understanding camera settings and light positioning also plays a vital role in capturing the best quality video. It’s essential to adjust your camera settings to best capture light and position your lights strategically to achieve a professional look in your videos.
Don’t overlook the importance of your background and shooting environment. A well-chosen background can complement your lighting setup and the overall theme of your video. Also, controlling outside noise and light is crucial for quality video production.
In conclusion, creating captivating YouTube videos is a craft that requires thoughtful attention to various elements, with the lighting setup being a key one. Through trial and error, you’ll find the perfect balance between key light, fill light, and background light that works for your studio and the content you create. Let’s illuminate your vlogging journey with the perfect lighting setup!